
How To Connect And Use Scanner OBD2
Scanner OBD2 is very simple and easy
to use. However, it is always better to first get familiar with the user manual
of the scanner's tools if you are planning on installing one. Scanner OBD2 is a
standardized system; therefore, all the devices can use the same connector. To
connect the Scanner OBD2, you will find a port on the dashboard just around the
driver's side. Turn your vehicle off and attach the scanner to the connector.
After you have plugged the scanner, turn on your vehicle, and wait for a while.
The scanner will boot up on its own. However, if it doesn't, you can
turn it on using the device's power button. After the scanner is ready, it will
ask you to enter some details of the vehicle. The scanner will then analyze the
information you have entered and start scanning the car's diagnostic system. You
will have to be patient here. The Scanner OBD2 will give you a
single error message or some codes after it is done scanning. You can either
transfer these codes through Bluetooth to your mobile phones or any other device
or write them down on a paper.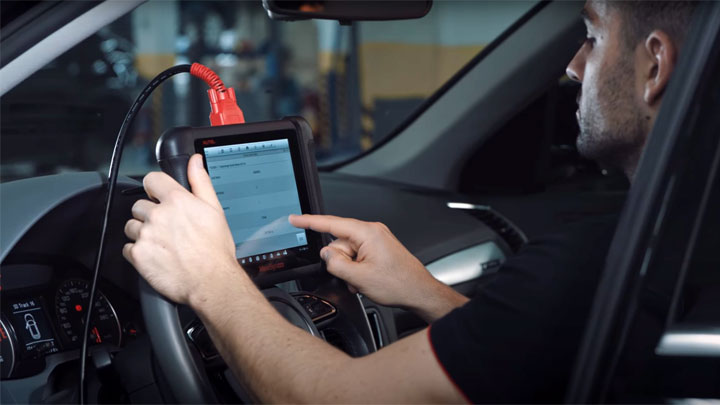
Now, to know what the codes mean, you need to
check out the user's manual to translate it. However, most manual provides
information on basic codes only. You can always turn to the internet if you
don't find enough information on the manual. The codes may differ according to
the companies and model of the vehicle. You will also find lots of additional
codes made for your car on the internet.
After you are done with all the
scanning and recording the codes, you need to turn your vehicle off. And then
unplug the Scanner OBD2 from the port. Now you know how simple and user-friendly
the process of using a scanner is. If you find any trouble using it, you can
always turn to its manual. This device usually does not damage easily, but if
you are not careful and use it without proper knowledge, it might start to
malfunction. So make sure you read the manuals properly before use.